Introduction
People
stick with banks they don't even like anymore, mostly because switching sounds
like a chore. You picture yourself tracking down every recurring charge,
waiting around for a new debit card, hoping nothing bounces in the meantime.
But the Consumer Financial Protection Bureau's advice on this is refreshingly
simple: don't close your old account first. Once you follow that one rule, the
rest of the process falls into a pretty predictable order, and most of the risk
disappears.
This
guide covers exactly what the CFPB and financial planners recommend for 2026:
what to check in your old statements before you switch, how long a direct
deposit change actually takes, and the mistakes that cause nearly every
switching headache.
All of
these are not very difficult to do individually. Many require only a telephone
call, filling up of an online form, or reading of a document. What actually
makes or breaks a switch is the order you do things in, and specifically, not
rushing the last step. That's the order this guide follows.
This
article is part of our larger complete guide to
banking in 2026, and it pairs well with our best online banks of
2026 guide if you haven't picked a new bank yet.
The
Golden Rule: Never Close the Old Account First
Every
official source on this agrees on one thing: keep the old account open and
funded until every deposit and payment has actually moved over. Closing it too
soon is the single most common reason a bill gets missed or a payment bounces
during a switch, and it's completely avoidable. You just have to be patient.
Financial
planners usually recommend running both accounts side by side for at least one
full billing cycle, often closer to two months, just to be sure nothing slipped
through. That overlap costs you nothing except juggling two logins for a few
weeks, which is a small price next to a missed mortgage payment or a paycheck
sent into the void.
Think
of the old account less like something to shut down quickly and more like a
safety net you keep in place until you genuinely don't need it anymore. There's
no prize for closing fast. The minor hassle of two open accounts is nothing
compared to a bounced rent payment or a paycheck with nowhere to land.
Step 1:
Compare and Open the New Account
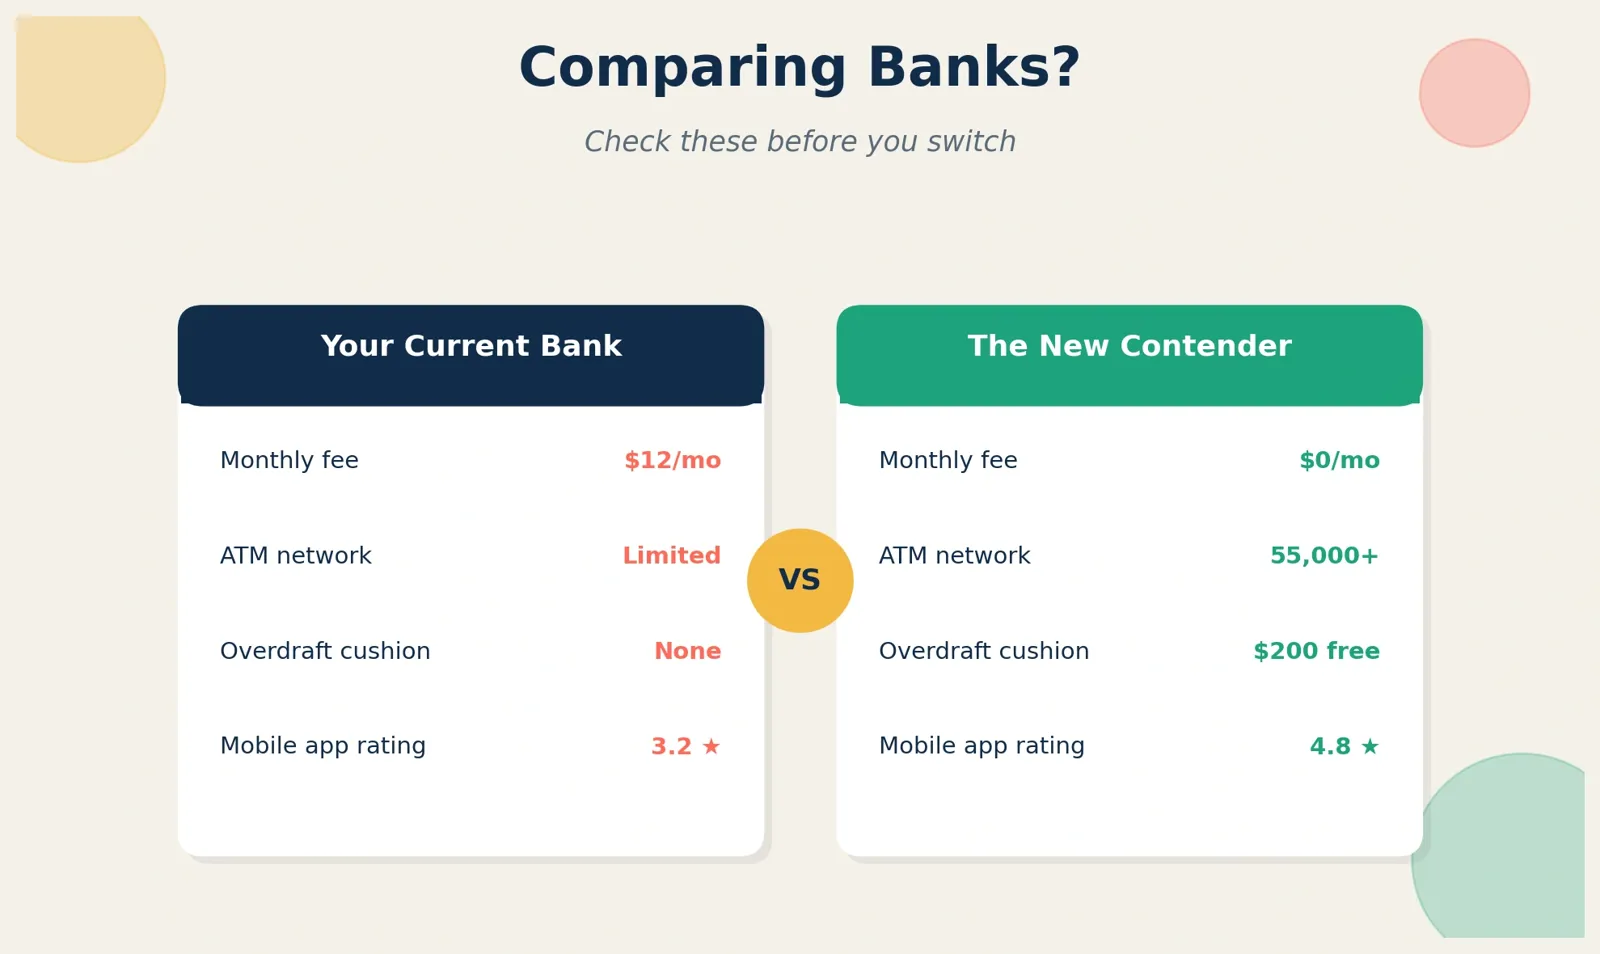
Before
you do anything else, compare fees, overdraft policy, direct deposit perks, ATM
access, and customer service between your current bank and whichever one you're
eyeing.
Our how to open a bank
account guide covers exactly what documents and steps you'll
need, usually ten to fifteen minutes online.
•
Look for a switch kit: a lot
of banks offer one, either a printable packet or a digital tool built
specifically to help you find and move recurring deposits and payments. Search
the new bank's name plus "switch kit" and you'll usually find it
fast.
•
Fund the account first: planners
generally suggest depositing roughly one to two months of expenses upfront,
enough to start covering upcoming automatic payments before you touch the old
account at all.
Finding
a switch kit is worth the extra couple of minutes, even for a simple switch.
Instead of rebuilding a list of every recurring deposit and payment from
memory, a good switch kit hands you pre-filled forms and a checklist, turning
what could be an hour of scattered guesswork into something much harder to mess
up.
Step 2:
Audit Everything Connected to the Old Account
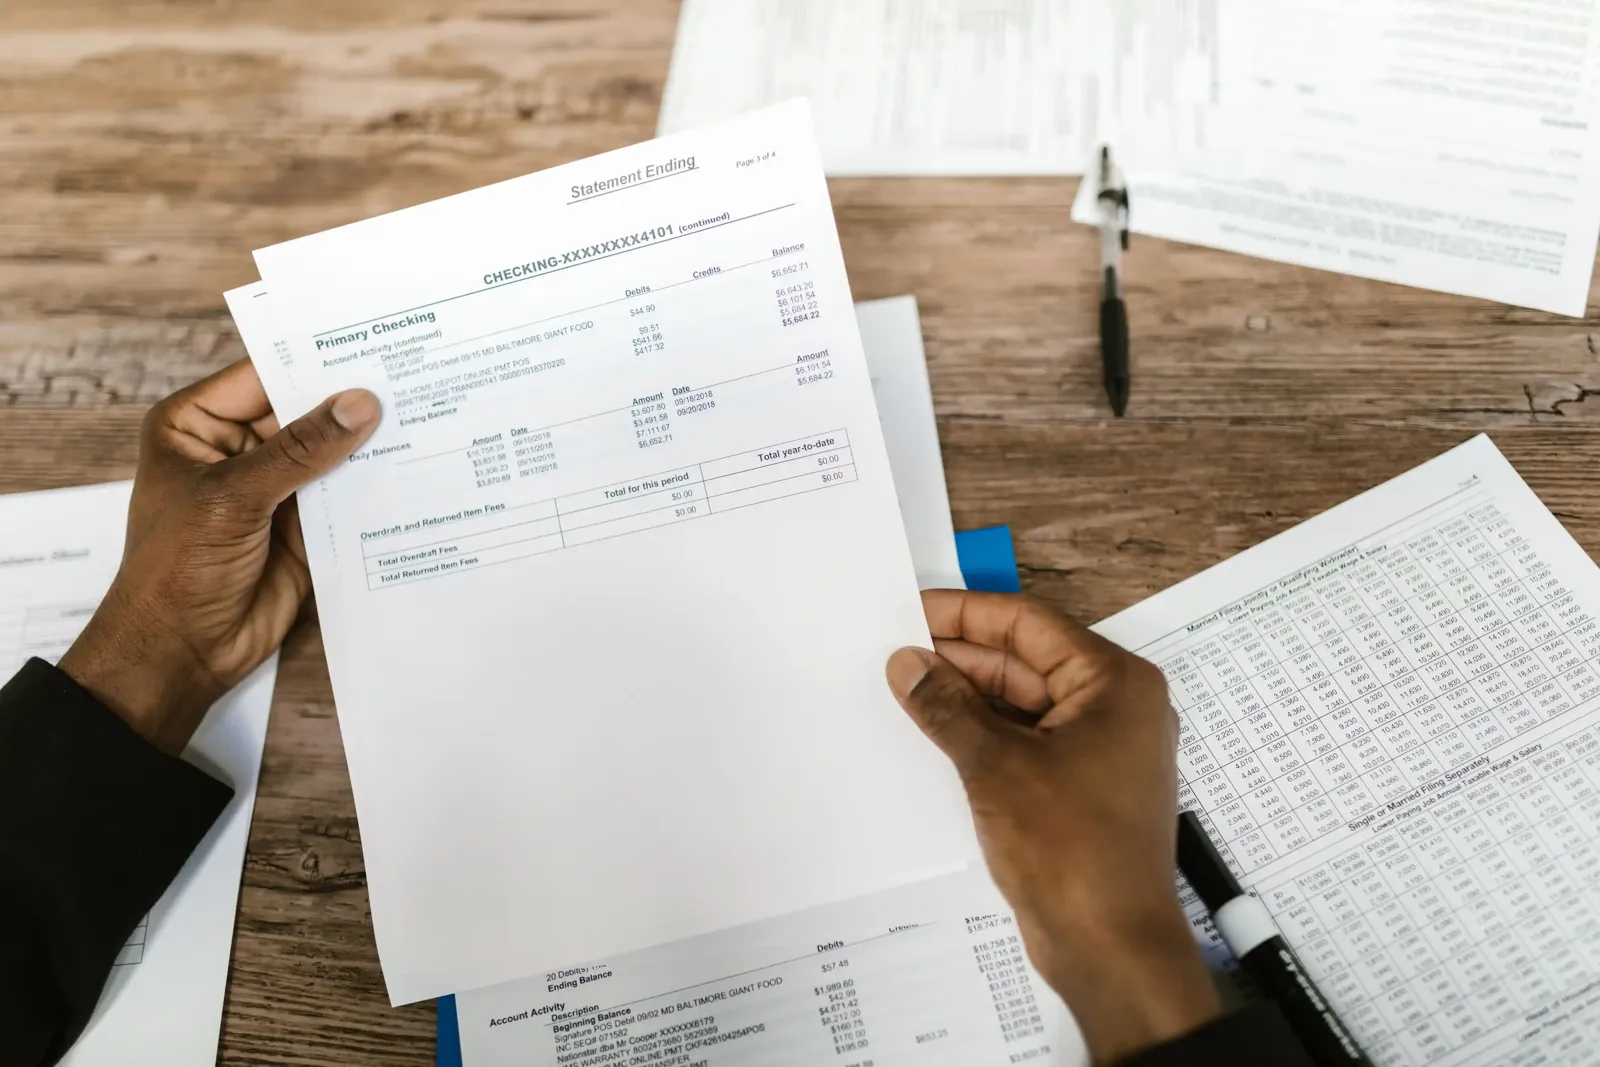
This
is the step everyone rushes, and rushing it is exactly what causes something to
slip through later. Review a minimum of two or three months' worth of
statements, but preferably twelve months in order to be sure to find an annual
fee that will come up just once a year.
•
Deposits coming in: salaries,
Social Security or pension money, tax returns, transfers from investments, and
any other recurring reimbursements or peer-to-peer transactions.
•
Payments going out: rent/mortgage,
utilities, insurance, credit card bills, loan payments, subscription fees, gym
membership fees, cellphone payments.
•
Linked outside services: Venmo,
Cash App, Zelle, and automatic transfers from brokerage and retirement
accounts.
•
Outstanding checks: any
check you've written that hasn't cleared yet can take weeks to cash, so factor
that in before assuming you can close the old account.
Most
banking apps now have a built-in recurring payments or subscriptions view made
specifically for this. Check there first before you scroll through months of
statements line by line.
The
thirteen-month lookback deserves extra emphasis, because it's the step almost
everyone skips. An annual insurance premium, a domain renewal, a yearly
membership fee, these are easy to forget if you're only checking the last
thirty or sixty days. And they're exactly the kind of charge that shows up
unexpectedly months after you thought the switch was done, pulling from an
account that might not have money in it anymore.
Step 3:
Move Your Direct Deposit
This
is usually the top priority, since it's your most important recurring inflow.
•
Update payroll with HR or your payroll
system: you'll need your new account's routing and account number,
which most banks provide as a pre-filled form right in the app.
•
Expect one to two full pay cycles: direct
deposit changes typically take that long to fully kick in, not the very next
paycheck. Plan around it instead of assuming an instant switch.
•
Confirm the first deposit actually lands: before
you redirect any automatic payments away from the old account, wait until you
actually see the new deposit hit the new account.
•
Watch sign-up bonus requirements: if
your new bank offers a bonus tied to a minimum direct deposit, double-check the
exact terms before this step so your deposit actually qualifies.
It's
also worth checking whether your employer can split a paycheck across two
accounts during the transition. Some payroll systems let you deposit a portion
into each account temporarily, which makes the switch feel a lot less
all-or-nothing if you're hesitant to send your whole paycheck to a brand new
account right away.
Government
payments get their own note here. Social Security deposits change through a
separate process, usually a phone call to the Social Security Administration
rather than through payroll, and other federal payments have their own update
procedures too. Check the specific process for any government benefit rather
than assuming it works like a regular paycheck.
If
you're self-employed or freelance, this step looks a little different since
there's no single payroll department to notify. Each client or platform paying
your invoices needs updated banking details individually, so it's worth
prioritizing your highest-paying or most frequent clients first, following the
same logic you'll use later in this guide.
Step 4: Redirect Automatic Payments
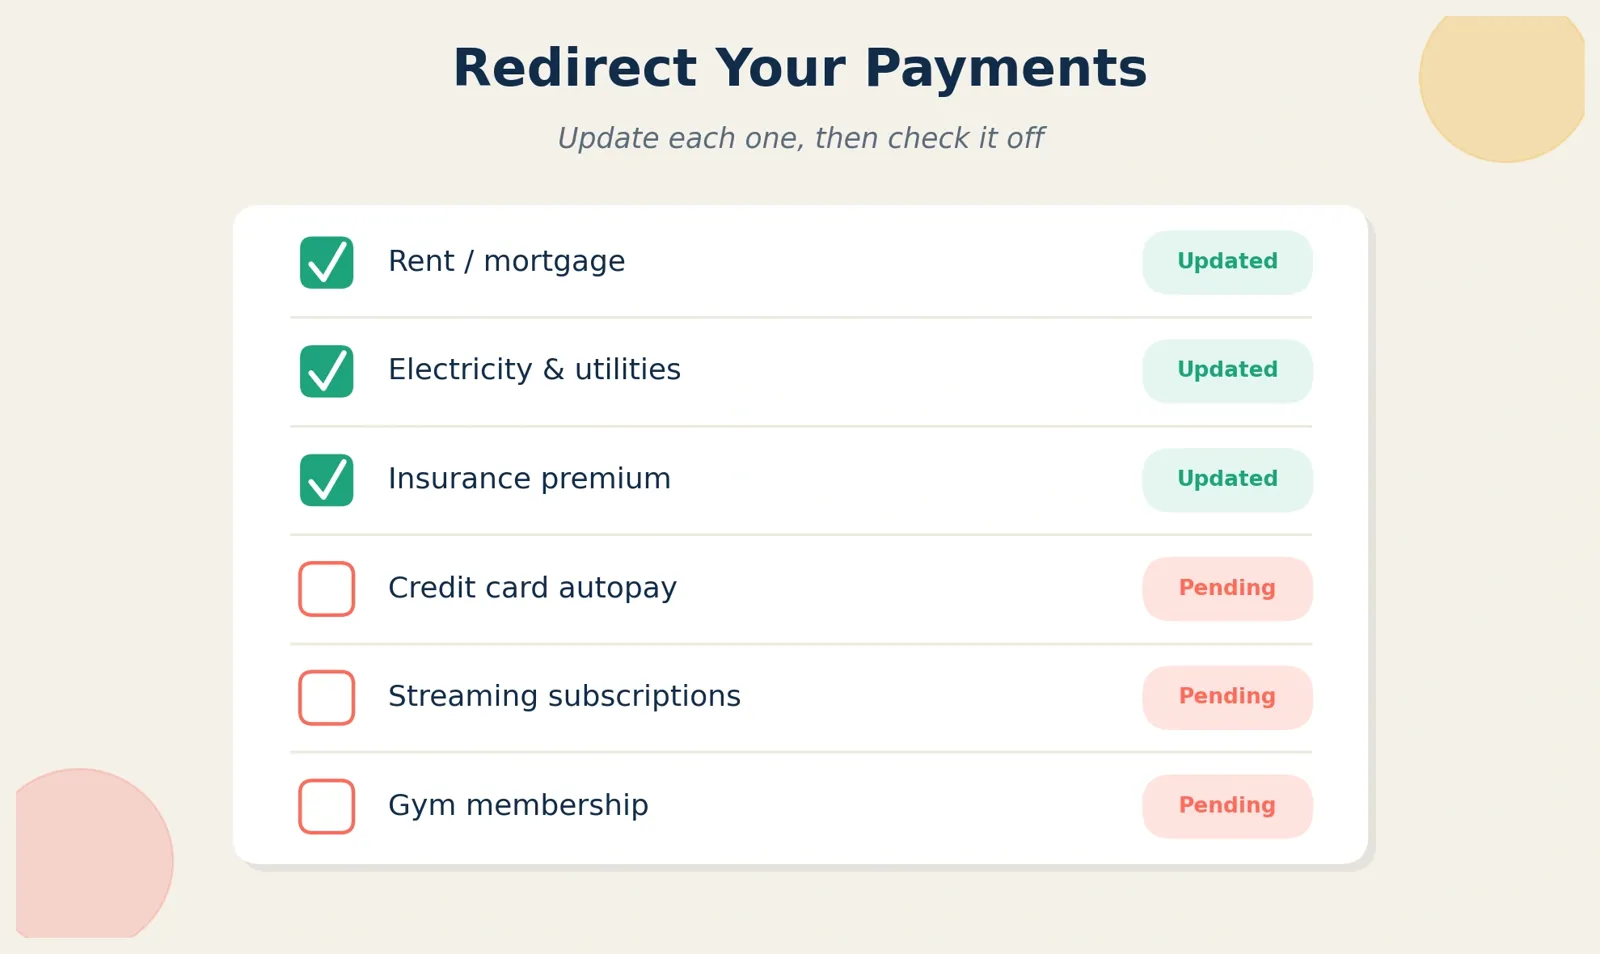
Once
your direct deposit is confirmed and landing reliably, work through the list of
outgoing payments you found back in Step 2.
•
Update each provider directly: utilities,
rent or mortgage, insurance, credit cards, loans, and subscriptions each need
their own update, usually through the provider's website or a quick call to
customer service.
•
Re-link payment apps separately: Venmo,
Cash App, and Zelle each need their own update. They don't follow a bank switch
automatically, so you'll change each one individually inside its own app.
•
Update brokerage and retirement links: if you
have investing or retirement contributions tied to the old checking account,
update those funding sources in this same pass.
A
financial aggregation app that connects to all your accounts can make this a
lot easier. Several will automatically flag recurring charges and deposits for
you, turning a manual scroll through statements into a much shorter review.
Work
through this list in order of consequence, not alphabetically. Rent, mortgage,
and insurance carry the most serious downside if something gets missed, a late
fee at best, a lapse in coverage or a strained rental relationship at worst. Late
subscriptions for streaming services or gym memberships mean very little. Do
the most critical payments first, and move down the list from there. This way,
if you run out of time during your payment session, what remains is the least
critical of your financial responsibilities.
Step 5:
Move the Remaining Balance
Once
every deposit and payment is confirmed moved, transfer whatever's left from the
old account to the new one. An ACH transfer initiated from the new account,
sometimes called a pull transfer, is usually free and lands within one to three
business days.
Leave
a small buffer in the old account instead of draining it to zero, especially if
any outstanding checks or pending transactions from your audit haven't cleared
yet. It normally takes from fifty to a hundred dollars for you to settle the
overlooked small fee and ensure that there will be no overdraft in your
account.
Step 6:
Monitor Both Accounts, Then Close the Old One
Both
accounts should be kept open and monitored for at least one billing period
after the switch, while other financial planners advise monitoring for two
months. Once every deposit, payment, check, and transfer has cleared and
nothing unexpected shows up, it's safe to close the old account.
•
Get written confirmation: ask
the old bank for written proof that the account is formally closed. Handy to
have on file if any dispute or confusion comes up later.
•
Destroy old materials: shred
any unused checks, deposit slips, and the old debit card once the account is
confirmed closed.
Some
people leave a small balance sitting in the old account rather than closing it
outright, sometimes called keeping it dormant, especially if it's a
long-standing relationship or gives access to a product only existing customers
get. That's a personal call, not a requirement. Just check occasionally that
the dormant account hasn't started racking up an inactivity fee, since some
banks do apply one after enough time with no activity.
Common
Mistakes That Cause Switching Headaches
•
Closing the old account too soon: by far
the most common mistake, and the one this whole process is built around
avoiding.
•
Only checking the last month of
statements: annual charges, insurance premiums,
subscription renewals, membership dues, are easy to miss without looking back a
full year.
•
Forgetting peer-to-peer apps: Venmo,
Cash App, and Zelle all need updating individually inside each app. None of
them follow a bank switch on their own.
•
Assuming direct deposit switches
instantly: expecting the very next paycheck to land in the
new account, when it usually takes one to two full pay cycles, causes confusion
a little planning would've avoided.
•
Not paying into the new account first
before changing direct debits: an
automated payment that tries to take money out of a non-existent new account
will bounce as easily as one from a closed old account.
•
Neglecting to pay attention to any
inactivity charges for an old account: if
you keep an old account open and have only a little bit of money in it rather
than closing it, then inactivity charges could be imposed by some banks.
Key
Takeaways
•
Never close the old account until every
deposit and payment has confirmed moved: The single most
important rule here.
•
Review a full thirteen months of
statements: not just the last few weeks, to catch annual
charges before they slip by.
•
Direct deposit changes take one to two
full pay cycles: not the very next paycheck, so plan around it.
•
Peer-to-peer payment apps need separate
updates: They don't follow a bank switch automatically.
•
Maintain both the accounts: until at least one full billing cycle has passed,
usually close to two months.
Conclusion
Switching
banks has a worse reputation than it deserves in 2026, mostly because the
process rewards patience over speed. Open the new account, fund it, audit the
old one thoroughly, move your deposits and payments over in the right order,
and give it time before closing anything. Follow that sequence and you remove
nearly all the risk that makes people put off switching, even when a better
rate or lower fees are sitting right there waiting.
For
the full picture on choosing where to switch to, read our complete guide to
banking in 2026.